Poly Sand Disasters: A Guide On What NOT To Do
According to our Technical Support Team, the number one mistake made during a G2 Polymeric Sand installation is improper watering. In this post, we’re diving into the topics of overwatering, under-watering, drainage, and other moisture-related failures on job sites. Learn about the most common mistakes we see in the field and how to avoid them.
To kick things off, let’s cover some of the basics. As with any other building material, when polymeric sand is misused or not installed right, it can lead to problems. Polymeric sand consists of a powdered glue that’s mixed with a specially calibrated sand. It’s designed to be gummy and cohesive when wet and hard when it’s dry.
Our G2 series of polymeric sand features Rapid Set Technology. When you first activate G2, it’s rain-safe after 15 minutes. What does the term rain-safe actually mean? Well, it simply means that the sand will not wash out of the joint after this time period. It does not mean that it’s cured after 15 minutes. The actual cure time is based on moisture and weather conditions. This could take anywhere from six hours to two weeks depending on the conditions! Only when the polymeric sand is fully dried is it fully cured.
Now that you understand a little more about what polymeric sand is and how it’s designed to perform, let’s move onto the causes for disaster.
Disaster #1: Improper Drainage
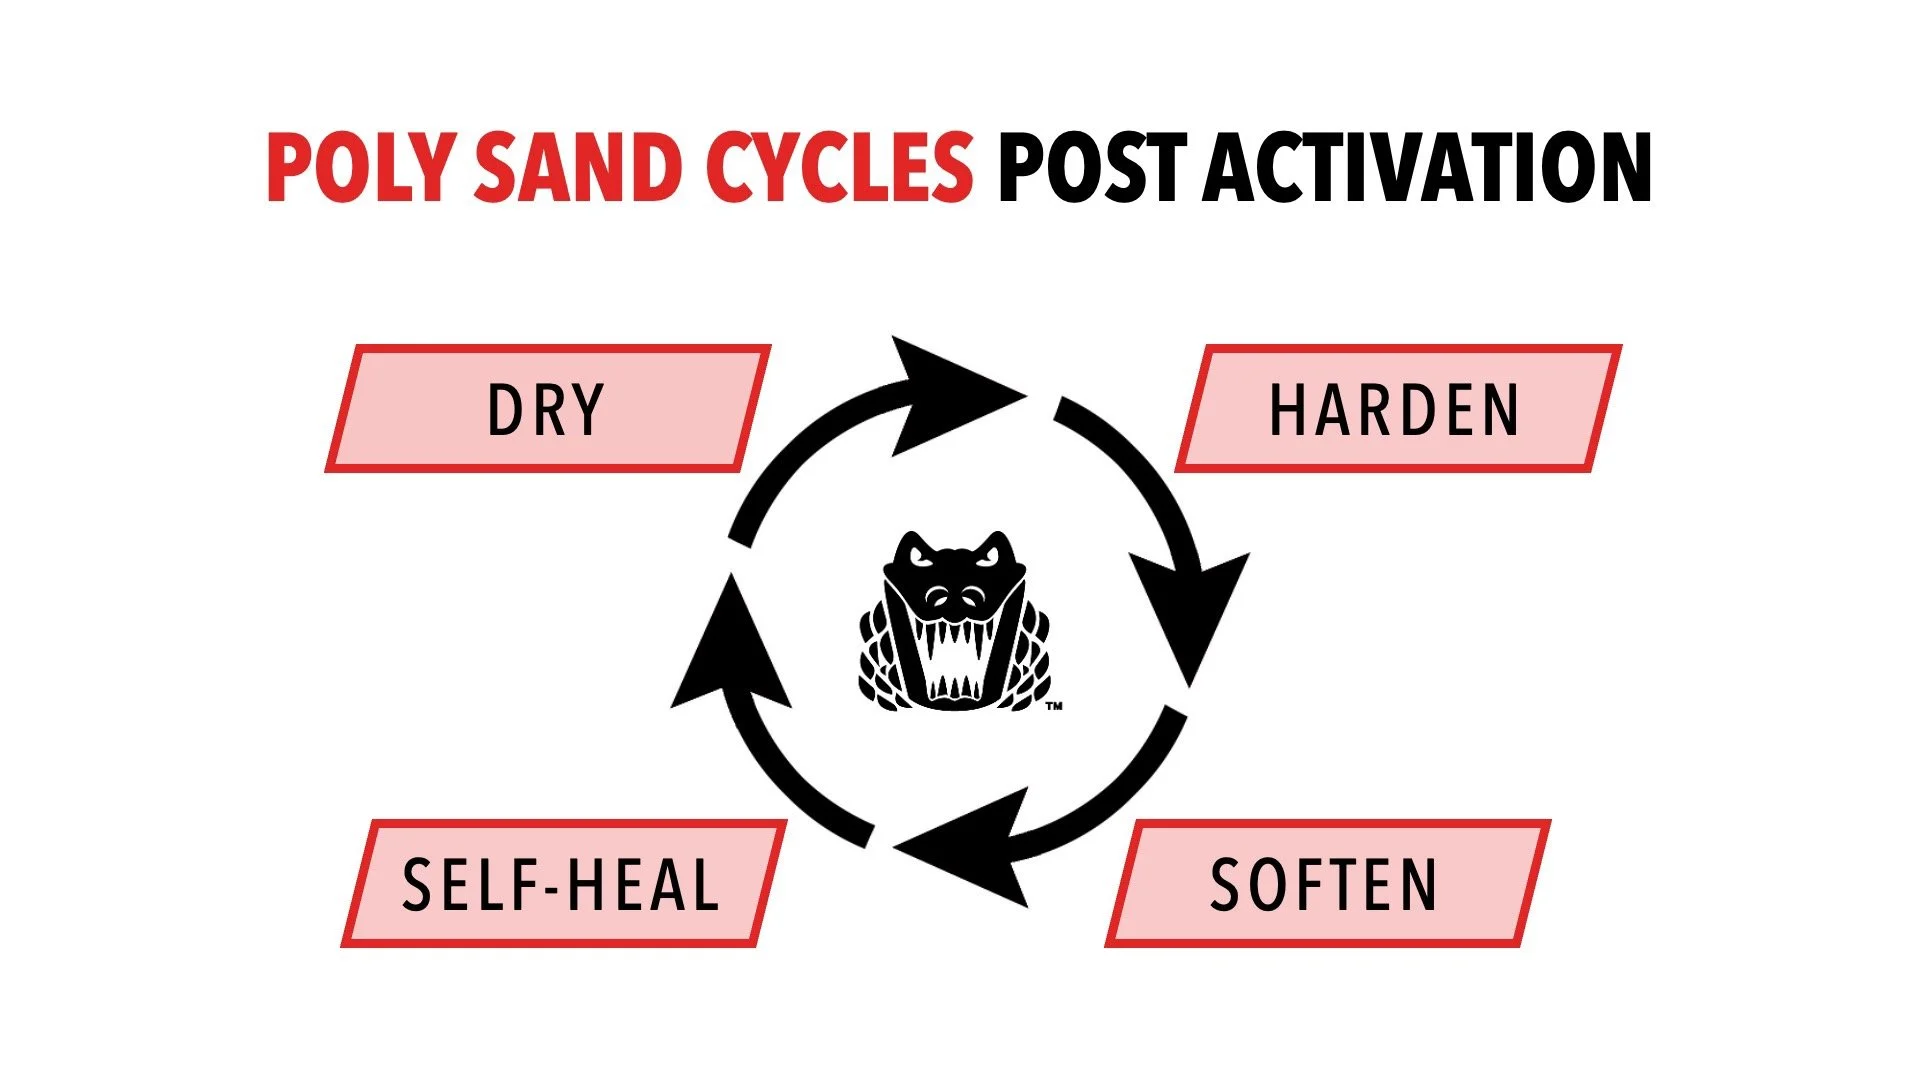
Water needs to drain from a paver application in order for the polymeric sand to perform like it’s supposed to. Polymeric sand becomes hard after it has cured and doesn’t bend once it’s completely dry. Remember, however, it’s designed to soften up and become flexible when wet. (This is the desirable feature that allows polymeric sand to self-heal!) The normal cycle of polymeric sand is shown in the graphic above. After it’s activated, it will constantly go from hard (When dry) to soft (when wet) and then self-heal.
We see drainage issues happen a lot in concrete overlay applications. A concrete overlay gives you a firm base, but water can’t move through a concrete slab. To ensure an overlay application drains properly, weep holes must be drilled every 3-4 feet. The size of the weep hole is equally as important as its placement. We recommend no smaller than 2.”
Fact: You’ll achieve 16 times more water flow through a 2” hole than a 1/2” hole! Make sure the holes are big enough!
Now you might be wondering, “What do I fill the weep holes with?” We recommend filling them with a stone that allows water to drain (something angular). A non-woven geotextile like Gator Fabric 4.4 should be used as well.
Another common question is, “Why can’t I just drill holes at the lowest point of the concrete slab for drainage?” While you might be able to get away with this on small projects, you won’t achieve proper drainage this way on larger applications. Between the pavers themselves resisting water and a minimal pitch, you’ll risk the water not being able to flow all the way down to the drainage area you created. Your best bet is to drill the weep holes.
Disaster #2: Using The Wrong Base Material
While stone dust and screenings are inexpensive and popular, they don’t allow moisture to travel through a paver application. In fact, these materials act like a sponge, holding water in, which essentially keeps the pavers wet. When enough water is absorbed into dust or screenings, the joints will eventually begin to repel water, creating a situation where the water below starts backing up to the paver. This is a disaster that will ultimately end in failure of the joint.
Disaster #3: Improper Compaction
Improper compaction is one of the biggest mistakes we see with polymeric sand installations. The process of compacting allows the sand particles to drop down into the joint, ensuring less void space in between each individual particle. Less void space between the sand particles means a stronger joint, since water has less of a chance of making its way down into the base material.
Pro Tip: While compacting, you want to see movement of the pavers. This means that the sand within the joints is getting vibrated around. You’ll want to continue compacting until you notice the sand has stopped dropping down into the joint.
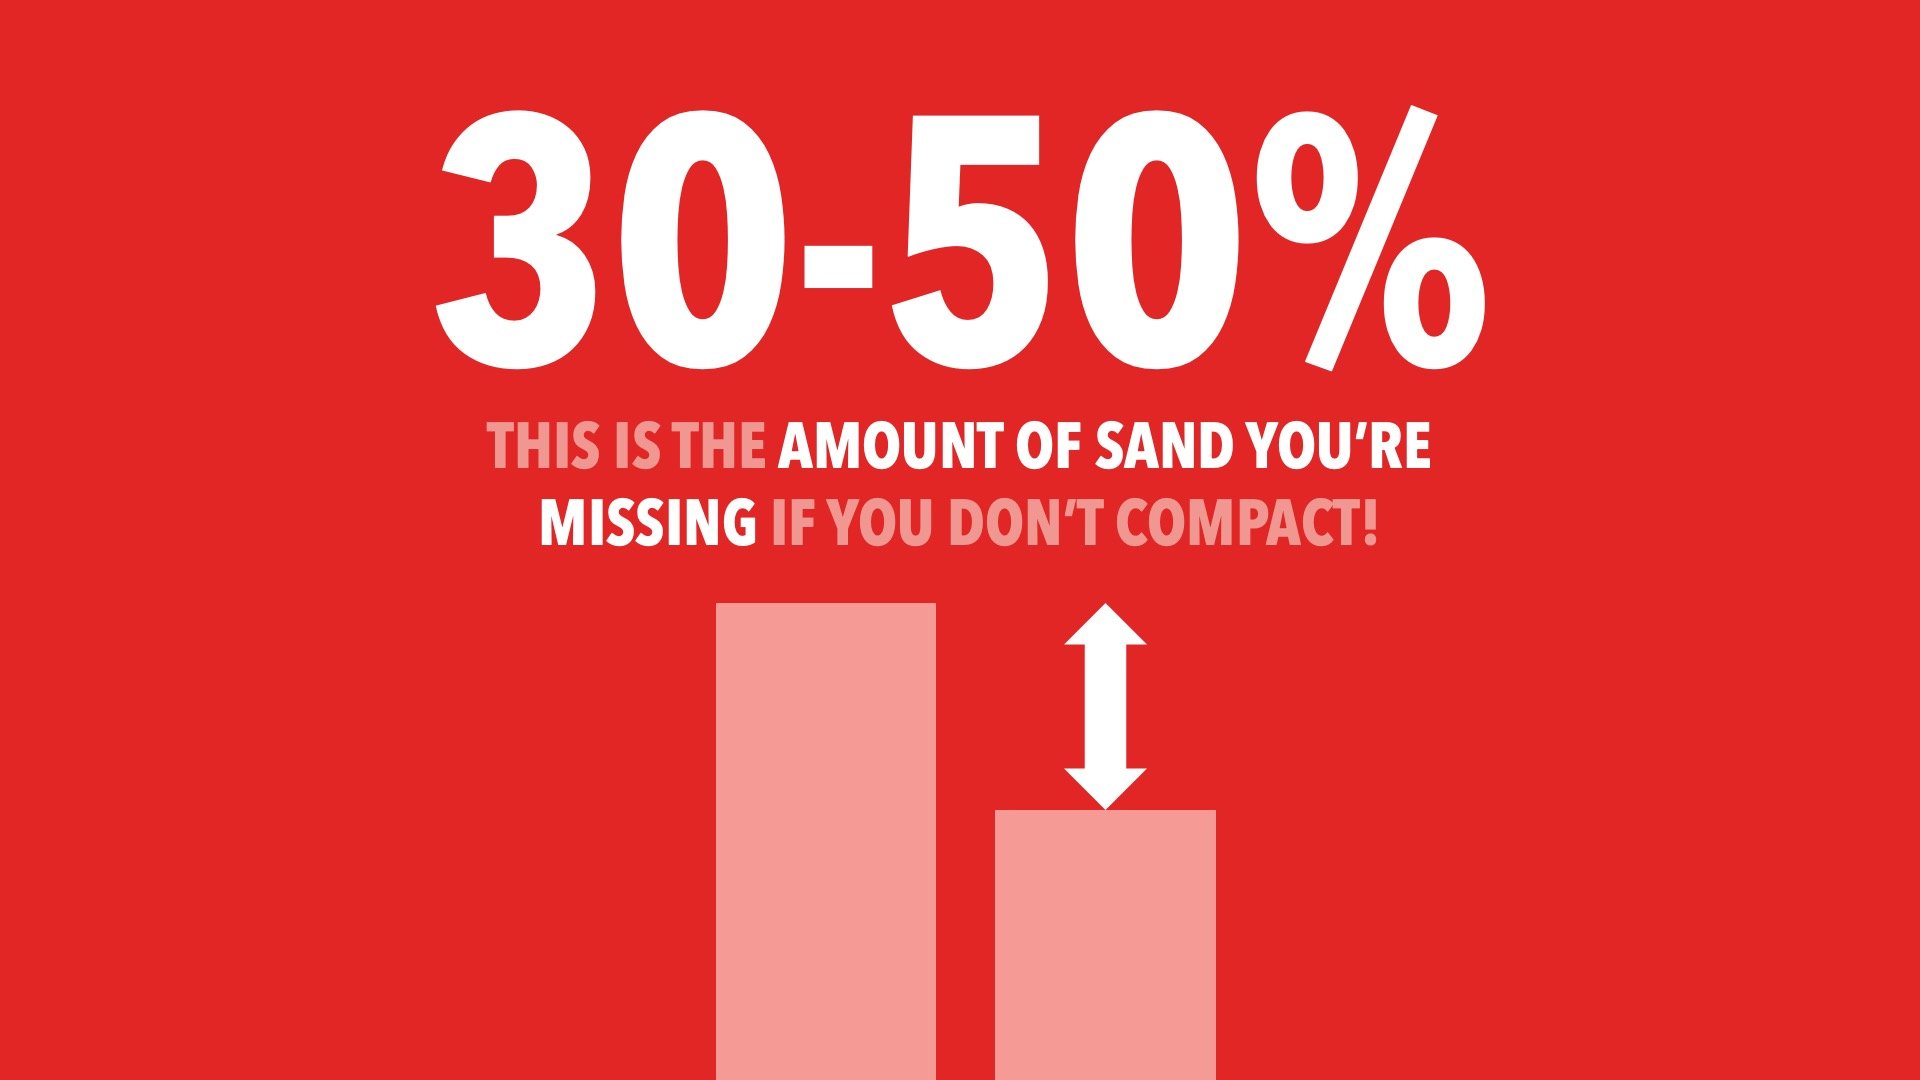
Did you know that after an initial compaction, the joint sand will drop up to 50%? If you skip this step, you’ll essentially be missing 50% of the sand (and 50% of the strength). Less sand. Less glue/polymers. More problems!
Every joint should be compacted in some fashion, even the joints of large format pavers. A roller compacter can be used to do this but even if you hand tamp, any kind of compaction is better than none at all.
Disaster #4: Overfilled Paver Joints
Let’s begin by saying that an overfilled joint is just not aesthetically pleasing! However, it’s also a leading cause of poly sand disasters. An overfilled joint will be prone to swelling when wet. When this happens, you’ll notice the joint material bubbling up above the surface of the pavers, putting it in jeopardy of foot and vehicular traffic. While pavers are made to withstand this impact, the joints are not. Peeling is also a very common occurrence with overfilled joints.
We recommend filling/compacting the paver joints until the sand reaches ⅛” below the edge or chamfer of the paver. Within this environment, the sand can expand when wet and not run the risk of protruding out over the tops of the pavers.
Disaster #5: Improper Watering
Misting used to be the common technique when watering polymeric sand. With our new G2 line of products, this is no longer the case. In fact, you really can’t use enough water when it comes to G2. Here’s why…
A light watering will activate a small amount of the sand but won’t penetrate down deep enough to activate the entire joint. When this happens, a thin skin will be formed where the water did penetrate but all the sand beneath it will remain completely dry, and not activated at all!
Pro Tip: All the water needs to get into the joint in one shot, and be completely activated, before moving to the next section. Use extra caution and speed in hot, dry weather!
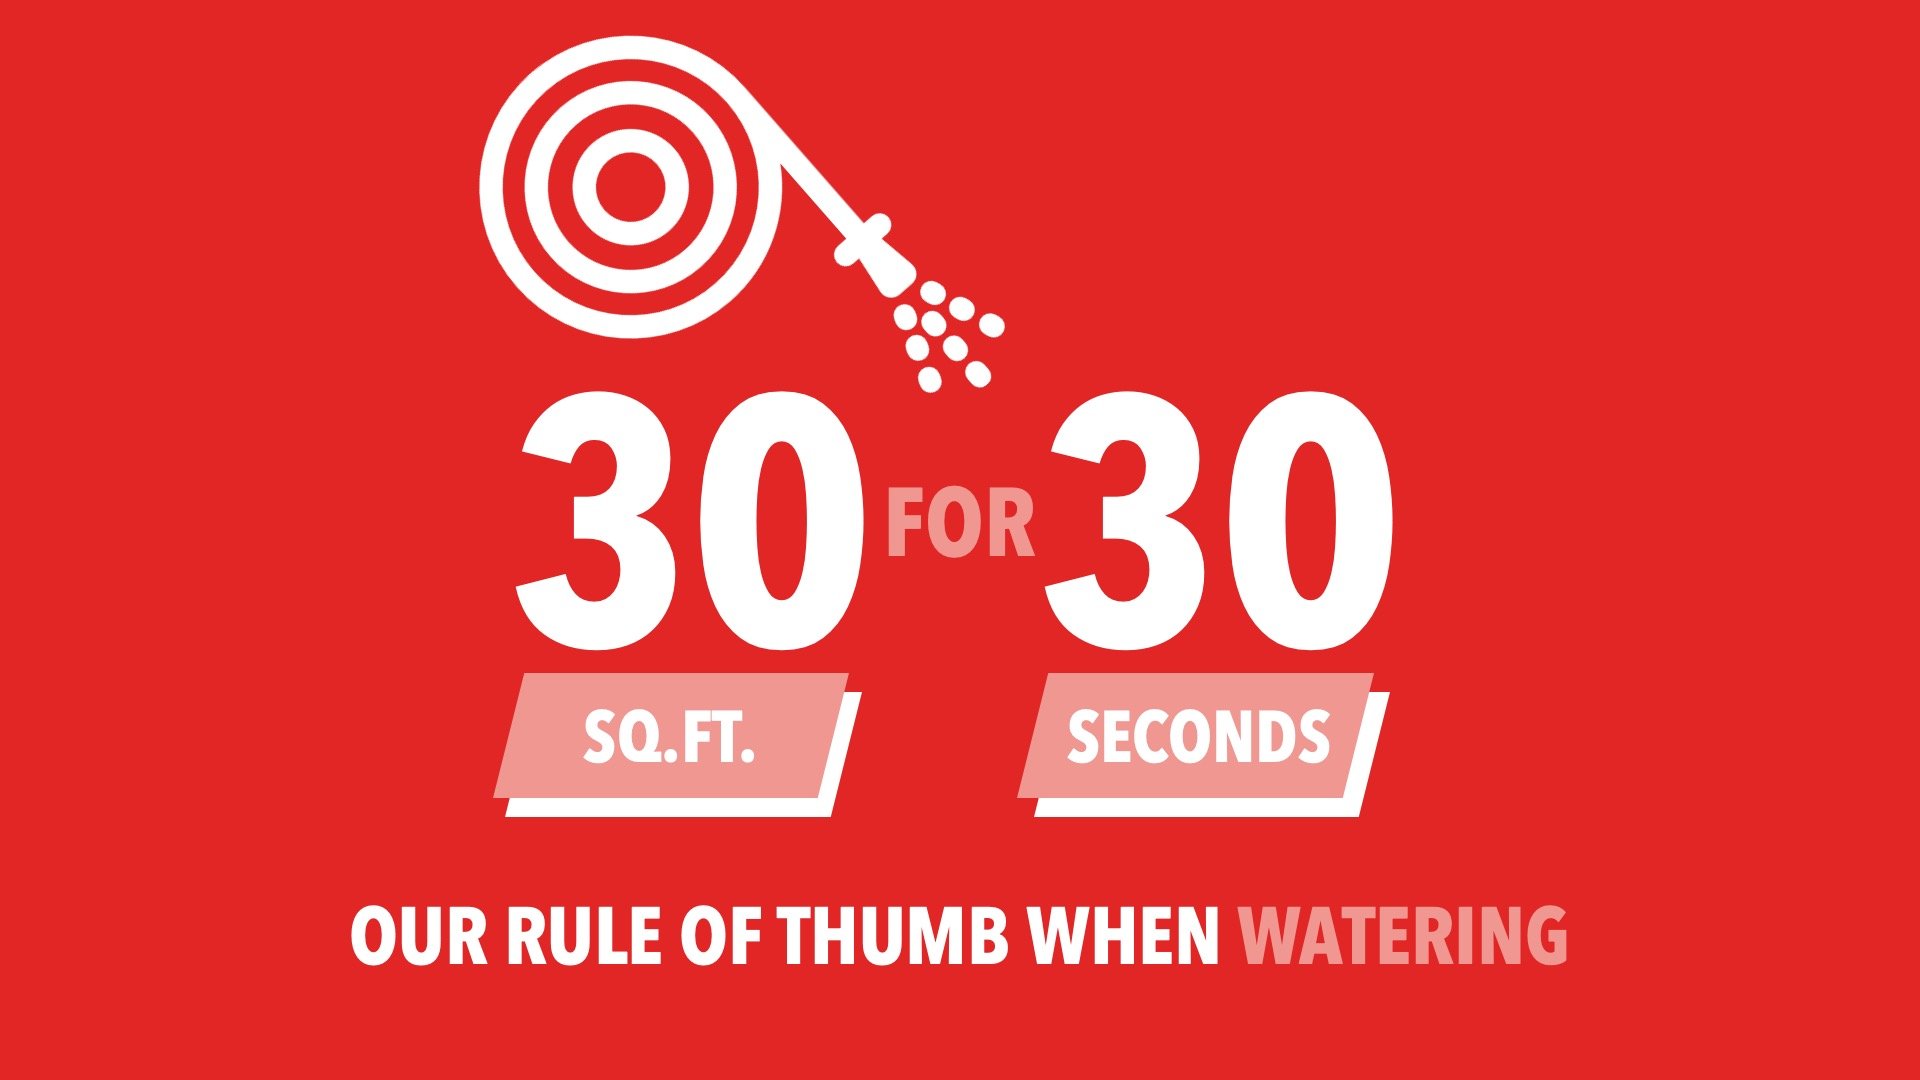
The key is getting enough water into the joint and fast enough. When watering, we recommend working in 30 square foot sections for 30 seconds at a time. You’ll want to water until the joint actually rejects any more water. On projects with wider joints, this may take 60 seconds or more. While this might seem like a lot of water, it is truly what the product needs to properly activate.
Disaster #6: Movement Of The Pavers
Cracking is incredibly rare in polymeric sand. If joints experience cracking, it’s most likely due to movement of the pavers. Sand is only flexible to a certain degree. If the pavers aren’t properly installed and secured, the sand within the joints will not be able to withstand the constant movement. Overfilling the joints can make this even more of a problem. Compaction, using the right base material, and installing an edge restraint will alleviate movement and ensure optimal performance of the polymeric sand.
Recap
It’s always best to solve a disaster before it happens. Keep this guide of what not to do in mind on every job and you’ll be set up for success!
Don’t overlook the need for drainage.
Don’t use the wrong base material.
Don’t skip the step of compacting.
Don’t overfill the paver joints.
Don’t use too little water.
Don’t install the sand until the pavers are secure.
Need more poly sand training? Be sure to take Polymeric Sand For Dummies on-demand!


