Tips & Tricks For Installing Gator X-Turf
The Gator X-Turf Collection has everything you need for an artificial turf project: infill sand, nails, glue, seam tape, geotextile fabric, and a versatile selection of turf blends. In this article, we’ll share helpful tips and tricks for properly installing each component!
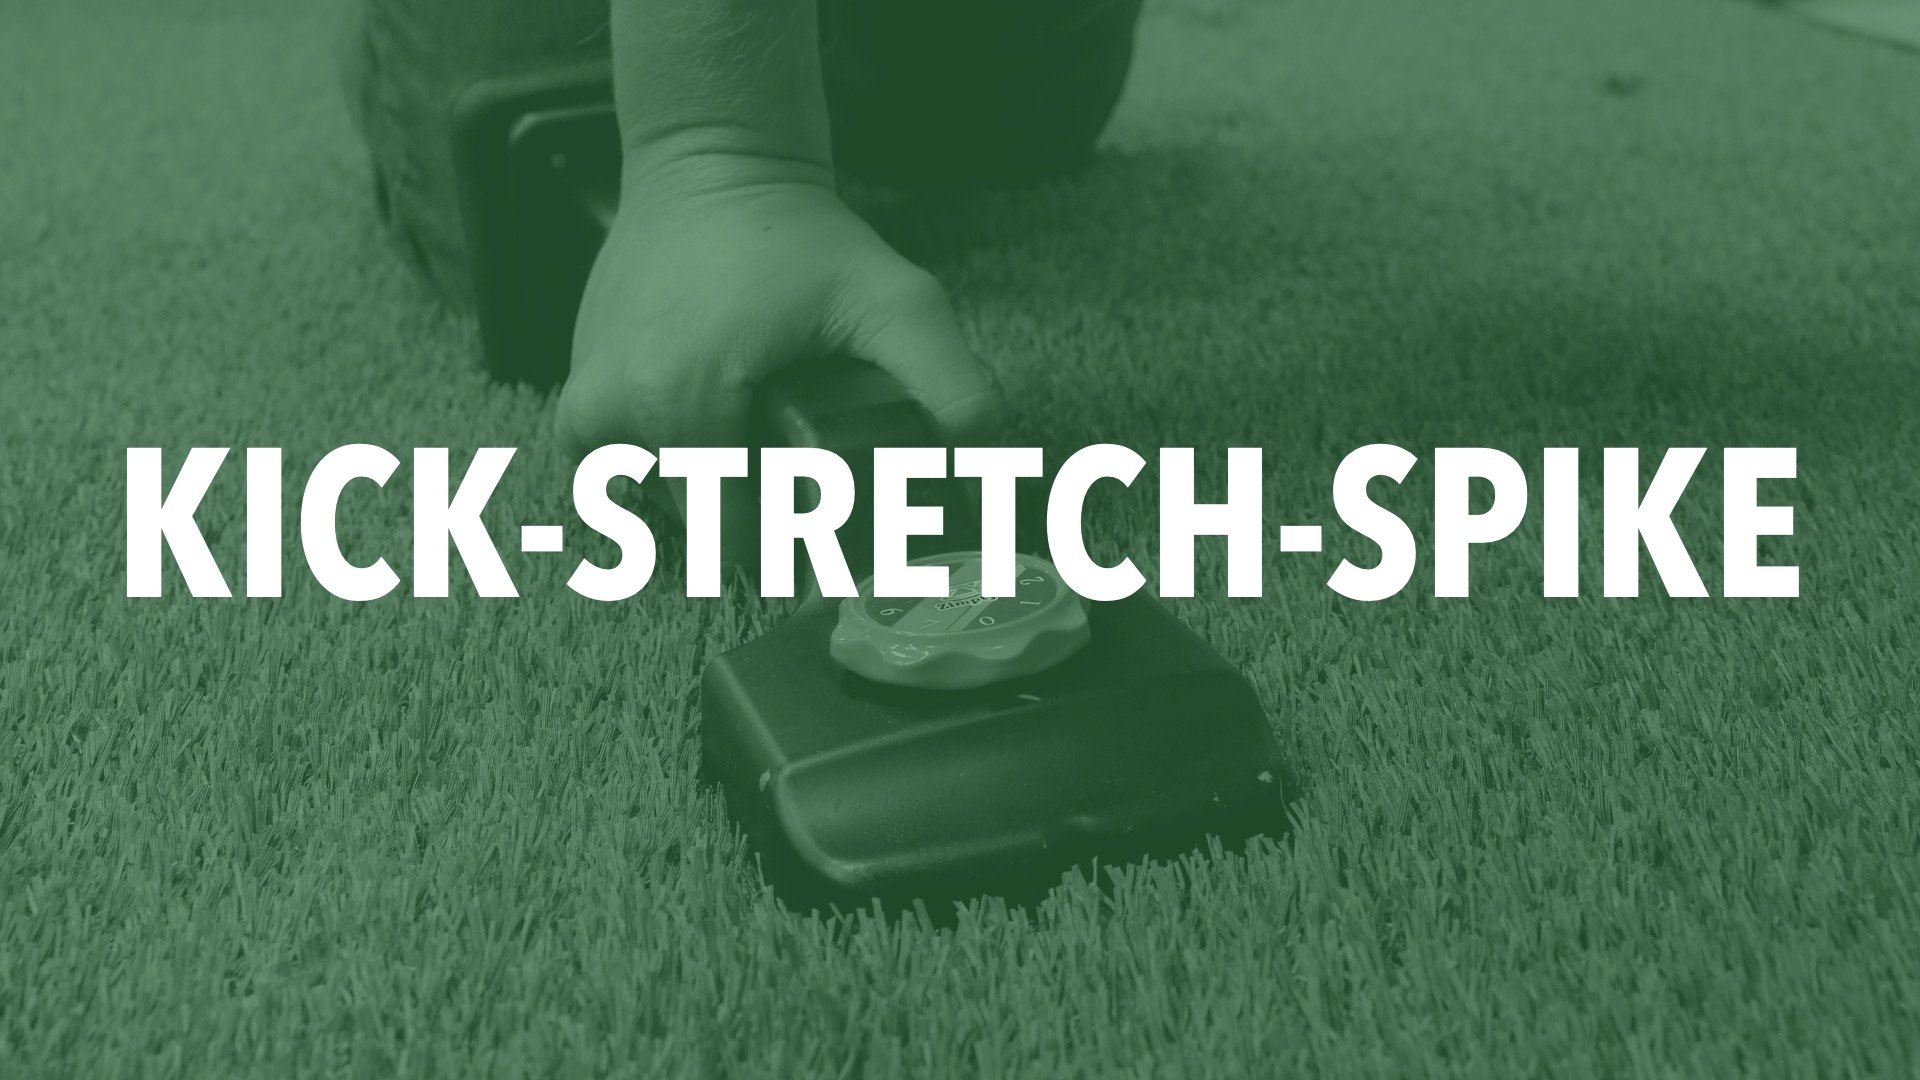
Before getting started, we’ll quickly hit the seven steps for installing Gator X-Turf. During the process, we recommend using a Kick-Stretch-Spike method. Kick the roll, stretch it out, install your spikes, and repeat. (Detailed guidelines on spiking will be provided later in this post.)
Basic X-Turf Installation Steps:
Prep the base
Roll out the turf
Make your cuts
Glue turf to seam tape
Nail
Spread infill
Brush turf blades
Watch our short Gator X-Turf installation video for more details!
When rolling out the turf …
Be sure to roll out the turf with the blades facing the same direction. If you install rolls in opposite directions, the sections of turf will look like they’re completely different colors!
When cutting …
Always cut from the back side of the roll of turf. This will prevent damaging the blades and making a mess. On a new roll of turf, you’ll want to cut off about three rows of the manufactured edge. This will help remove blades that were damaged/bent during the manufacturing and transporting process. Also, be sure to get as close to the stitch gauge as possible when making your cuts on the edge of the roll. When seaming, one side of the seam should be close to the stitch gauge, and the adjacent side should be further away in order to keep the consistency of the stitch gauge.
WHEN INSTALLING NAILS …
It’s important to make sure the nails are hammered flush and not pinching any of the blades. These kinds of imperfections will be very obvious on the finished job. As a general rule of thumb, we recommend installing nails every 6” on the perimeter and every 12” on the interior of the job.
WHEN GLUING …
Use a roller to evenly spread the Gator XP Glue on the seam tape. Be sure to avoid getting glue on the center line of the seam tape, as it can seep through and make a mess of the turf. Because Gator XP Glue is a moisture-cure product, you may spritz the seam tape with water to expedite the cure time of the glue. Lastly, you can use the bags of infill sand to weigh down the turf while the glue dries, which takes about three hours.
LEARN WHY XP GLUE IS THE BEST CHOICE FOR TURF!
WHEN SPREADING INFILL:
Use a drop spreader and work in straight lines when applying the infill sand. Maintaining a consistent speed and quantity throughout the project will be key. Less is more when it comes to infill sand. It’s nearly impossible to even out areas where too much sand was used. To learn more on the general importance of using infill, be sure to read this post: What’s the purpose of infill sand for artificial turf?
When brushing …
At the end of the installation, use a brush north-south and east-west to ensure all blades are touched. Always use a nylon plastic turf rake designed for artificial turf. We recommend using a power broom for large applications.
Discover the Gator X-Turf Collection by requesting a free sample box today.*


