
Mastering The Watering Process: G1 vs G2 Polymeric Sand
When it comes to installing polymeric sand, proper water activation is key to getting durable, long-lasting joints. Whether you're using our first generation or G2 polymeric sand, understanding the correct watering method ensures successful product performance.
Here's a breakdown of the recommended watering steps for each product, so your project looks great and performs even better.

💧 G1: Time-Tested Performance With A Little Extra Care
While our first generation of polymeric sands (Gator Maxx and Supersand) are reliable and high-performing, they require a slightly more methodical watering process to ensure full activation.
✅ Water Activation Instructions:
The hose nozzle should be set to Shower and watering should begin at the lowest point of the project.
Don’t let the surface dry out during water activation.
Work in sections of about 100 sq. ft. depending on temperature - never let the surface dry during the watering process!
Perform an initial shower to lightly water the entire section.
Wait 2–3 minutes, then shower and rinse simultaneously to eliminate surface residue and direct the water into the joints.
Repeat this process once more (three passes total for the 100 sq. ft. section).
Stop watering when you see water retention on the joints — this means they’ve reached saturation.
Using a leaf blower on idle, direct any excess water on the surface of the pavers into the joints.
Move on to the next section and repeat the same procedure.
⚠️ Key Reminders:
Always monitor to prevent overwatering, which can cause the sand to washout.
Water and rinse at the same time — this helps reduce any remaining residue and ensures a clean finish.
Avoid working in extreme heat or wind, which can dry the surface prematurely.

💧 G2: Fast, Clean, and Hassle-Free
Our G2 sands (G2 Gator Maxx or G2 Supersand) are known for no-dust, no-haze, and a streamlined application process. They’re designed to simplify installation and reduce callbacks — but ultimately this requires following the proper steps for watering.
✅ Water Activation Instructions:
Set the hose nozzle to the Shower setting.
Start watering at the lowest point of the paved surface.
Don’t let the surface dry out during water activation.
Shower sections of 30 sq. ft. for a minimum of 30 seconds at a time, or until the sand repels the water and pooling begins on the joints — that’s your sign that a sufficient amount of water has been applied. (Note: Larger joints may require a longer watering of 60 seconds or more.)
Watch to make sure sand isn’t getting washed out of the joints during this process.
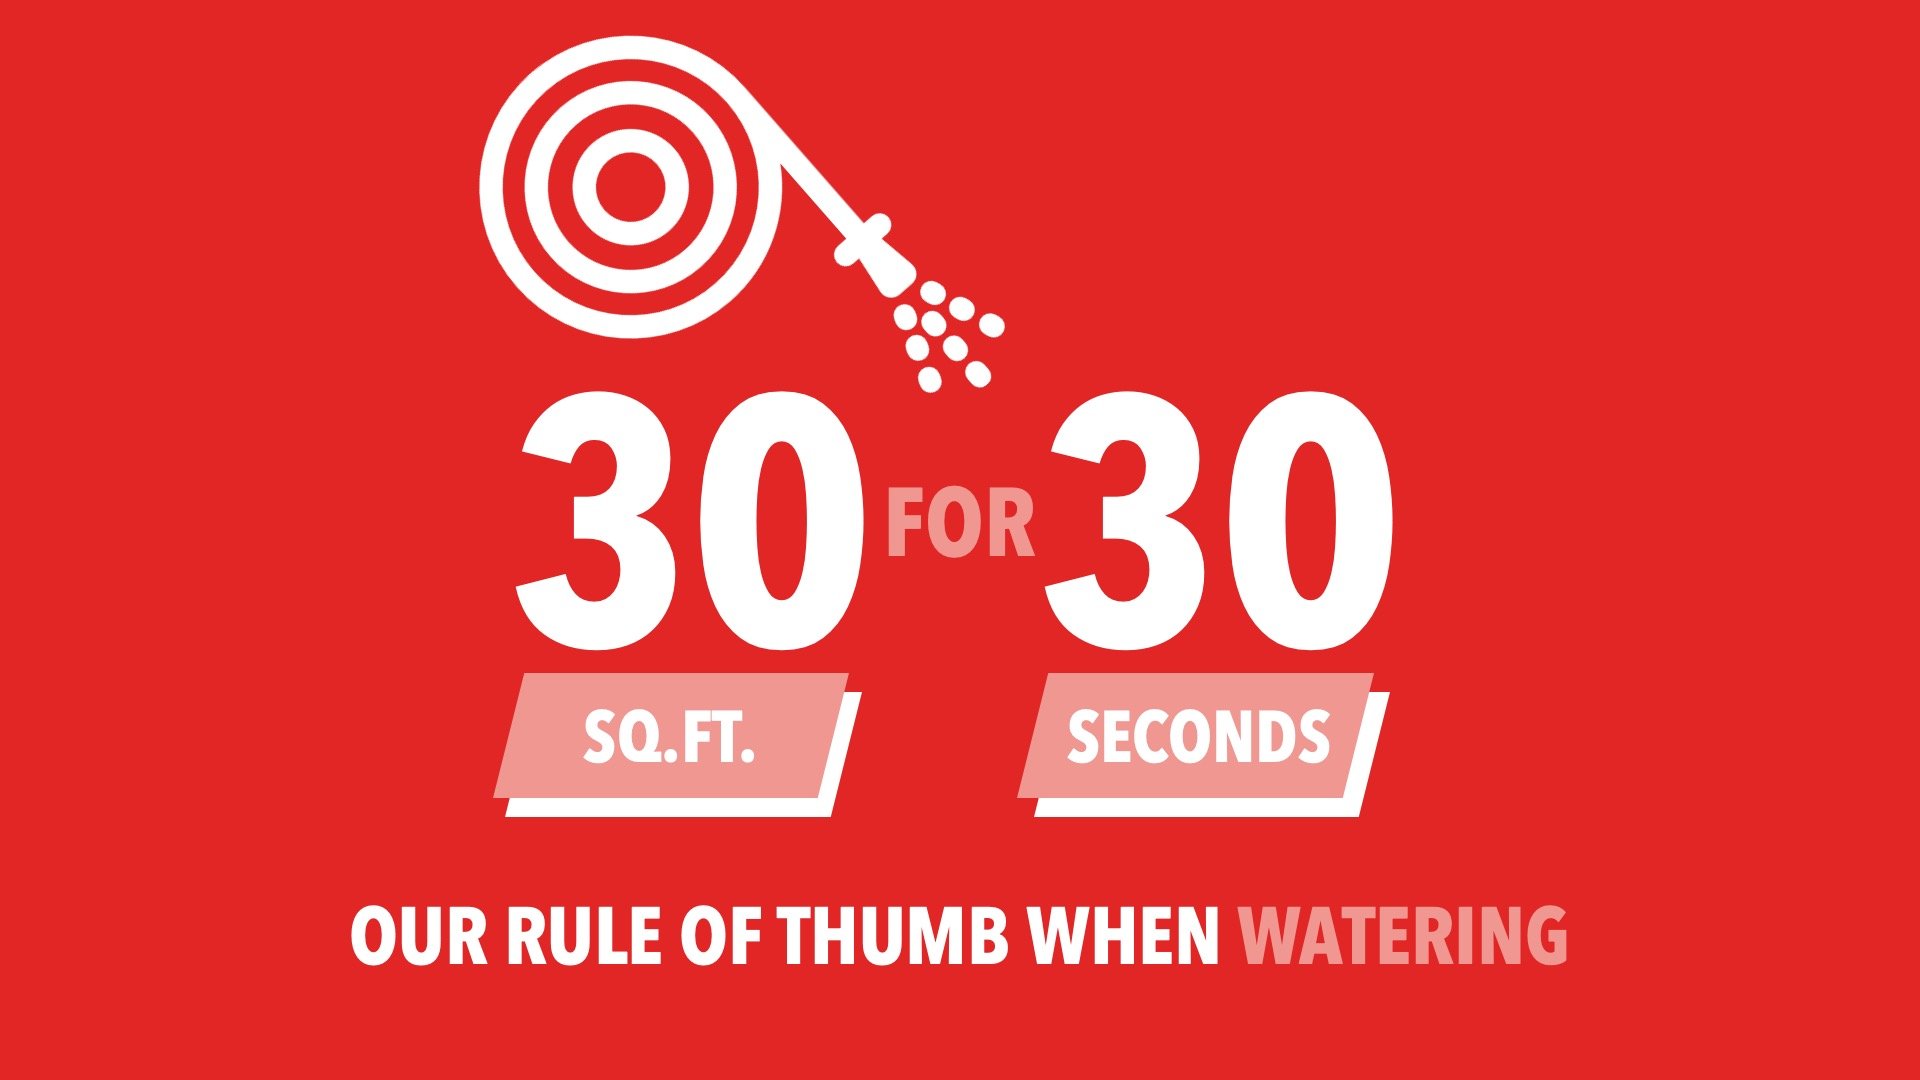
Remember: 30 for 30 when working with G2!
💡 Pro Tips:
Work in small sections to ensure complete saturation (Remember: 30 sq. ft. for 30 seconds at a time)
Keep an eye on joint water retention — once it pools, you’re done!
No need to blow off excess water (however, you can if you want to) — G2 is engineered to stay clean.
Lastly, make sure you don’t use the 3 step watering process on G2 polymeric sands! With the Rapid Set Technology in G2 products, the joint will repel everything after the initial watering, resulting in a thin crust forming (which is prone to premature failure, cracking, bubbling, and many other issues). A complete watering must be done in one single shot.

Final Thoughts
Both G2 and first generation polymeric sands are excellent choices, but they require different watering techniques to unlock their full potential. If you're looking for ease of use and quick activation, G2 is a standout. For those comfortable with a more traditional, hands-on method, regular Gator Maxx or Supersand will deliver solid results. Regardless of which product you pick, just be sure to follow the watering steps closely.
Need help selecting the right product for an upcoming job? Send us a message!
