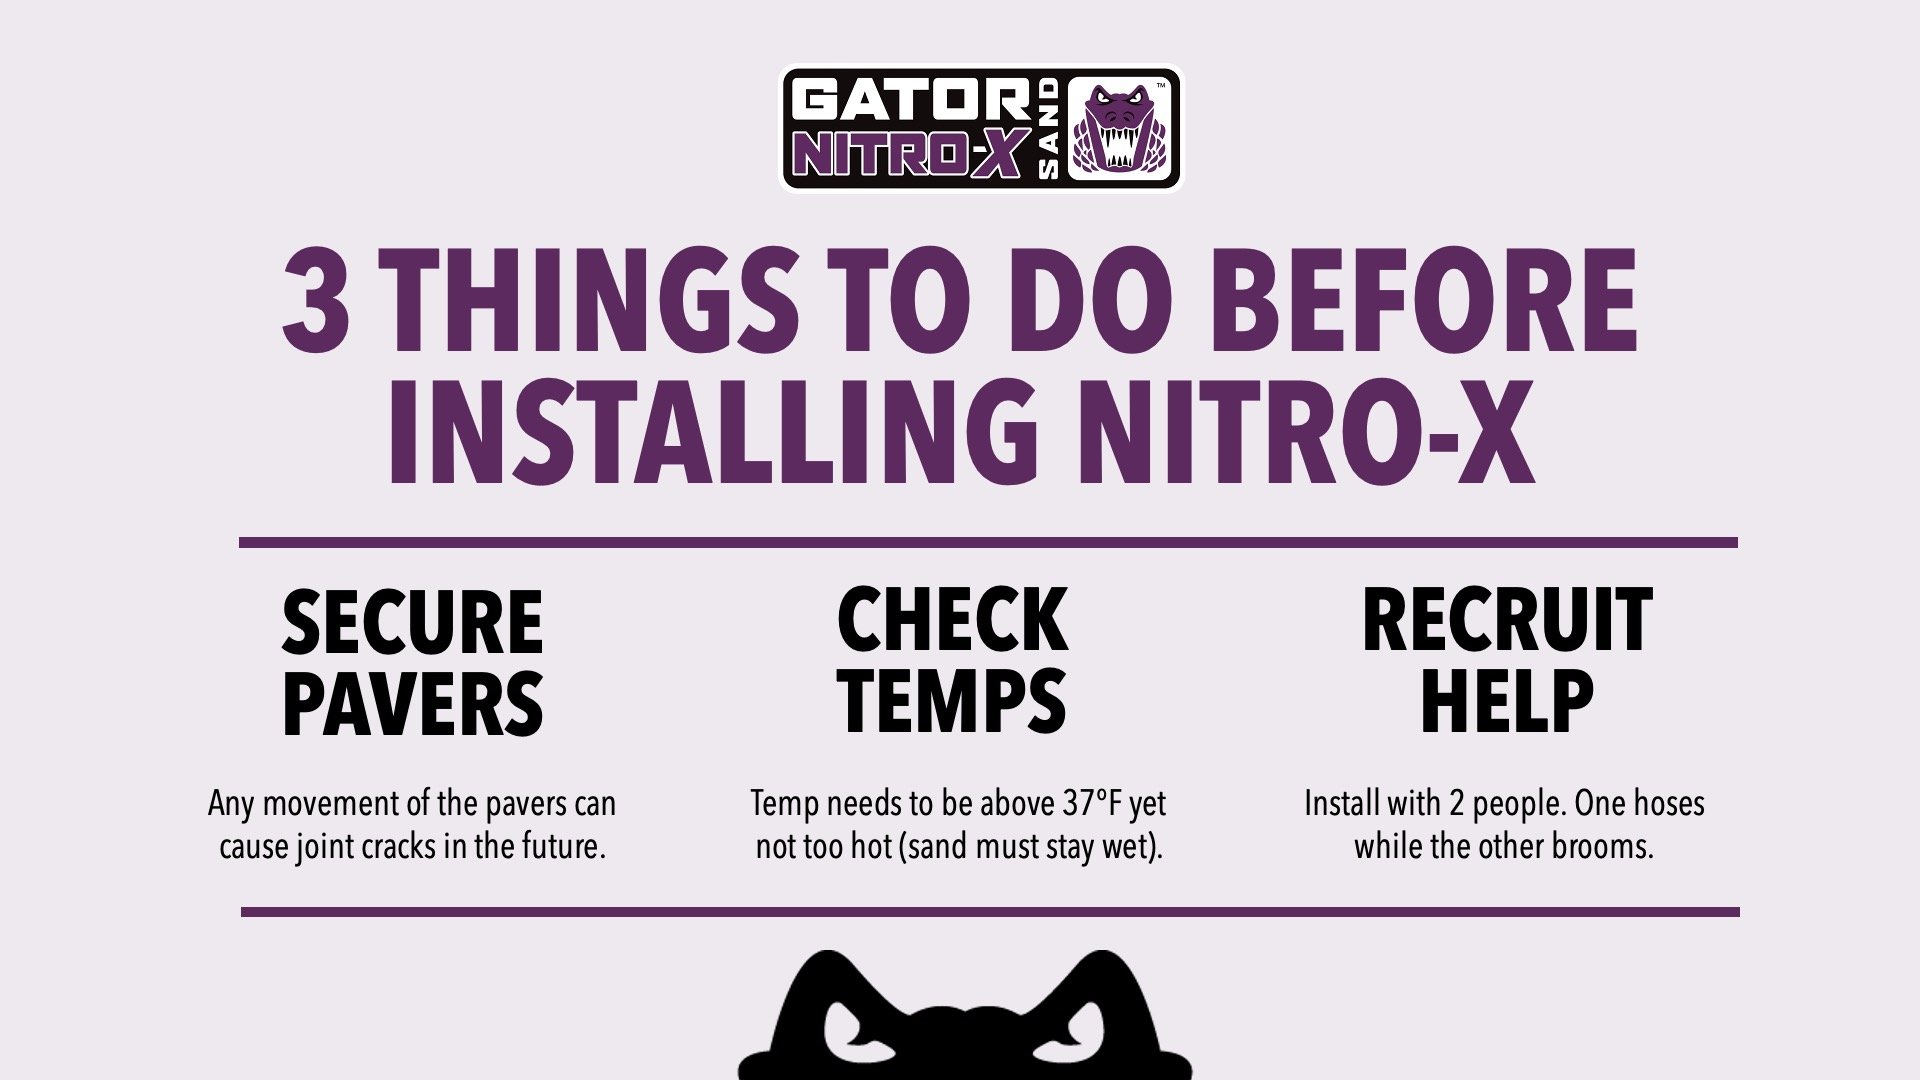
3 Things To Do Before Starting Your Nitro-X Project
Nitro-X, like its counterpart Gator Nitro, is ideal to use if you’re looking to achieve top-to-bottom strength within a paver, stone or tile joint. Both products can be installed rain or shine and also offer the added benefit of permeability (although the regular Gator Nitro is more permeable than Nitro-X). If you’ve decided Nitro-X is a good fit for your project, you’ve come to the right place. In this post, we’ll outline the three things you must do before getting the installation started.
Nitro-X must be kept wet during the entire installation process!
Still deciding between what product to use? Discover the 6 Key Differences Between Gator Nitro & Nitro-X.
Nitro-X can be used on a variety of projects, as long as there’s a drainage base: patios, pool decks, walkways, and even residential driveways. It’s formulated with finer particles and a special resin, which makes it possible to successfully fill tighter joints. In fact, Nitro-X can be installed in joints as narrow as ⅛” (3mm) and will work in a joint size of up to 2” (50mm). If your project has a drainage base and the paver joints meet these size requirements, you can move along to this pre-installation checklist.
1. Ensure the pavers are secure.
As we mentioned above, after Nitro-X sets up, it will completely harden from top-to-bottom within the joint. Because of this, it’s imperative there isn’t any movement of the pavers, stones, or tiles, as cracking inside the joint can occur later down the road.
2. Check the weather.
While Nitro-X can be installed in the rain, the temperature may impact your installation. Nitro-X must be installed above 37°F (3°C). The product must also stay wet during the entire installation. If it’s very hot, you’ll have to work in smaller sections and use more water to prevent the sand from drying out.
3. Recruit some help.
The installation of Nitro-X requires a lot of water and a lot of brooming. To ensure the sand remains saturated with water, we recommend a two-person installation. One person operates the hose while the other pushes the sand into the joints with a broom or squeegee.
CONCLUSION
If your project has a drainage base and the paver joints are between ⅛ - 2” (3mm - 50mm), Nitro-X is an option! Before getting into your installation, be sure to:
Ensure the pavers, stones, or tiles are completely secure to prevent joint cracking later down the road.
Check the weather to confirm temperatures will be above 37°F (3°C), yet also not too hot as the sand must never dry out during the installation.
Have some help lined up because Nitro-X should be installed with at least two people.


